Get crypto bank 2026 right
Linking a crypto wallet to a traditional bank requires navigating strict compliance layers, not just connecting accounts. In 2026, most institutions treat crypto as high-risk, meaning your standard checking account may reject transfers or freeze funds if policies aren't met. Start by verifying your bank supports specific assets like stablecoins, completing KYC checks, and testing with small transfers to ensure smooth integration.
Step 1: Choose a bank with verified crypto rails
Not all banks handle cryptocurrency transactions equally. Many traditional institutions block transfers from or to known crypto exchanges due to risk policies. Identify a bank that explicitly supports crypto-related deposits or has a dedicated digital asset division. Look for institutions that are members of the Crypto Currency Banking Association or have published clear policies on stablecoin and Bitcoin transactions. In 2026, several major US banks allow stablecoin transfers (like USDC) while restricting volatile assets like Bitcoin at the deposit level. Verify that your chosen bank does not flag your wallet address as "high risk" before initiating any transfers.
Step 2: Complete KYC and AML verification
Before linking any wallet, you must pass Know Your Customer (KYC) and Anti-Money Laundering (AML) checks. Banks will require government-issued ID, proof of address, and sometimes a source of funds declaration. Ensure your personal information matches exactly what is registered on your crypto wallet’s associated email or exchange accounts. Mismatches in names or addresses are the most common reason for frozen accounts. If you use a hardware wallet, you may need to provide additional documentation proving ownership, such as screenshots of the public address or transaction history from a verified exchange.
Step 3: Generate a deposit address from your wallet
Never send funds from a bank directly to a "deposit" address without first generating a receiving address in your wallet. Open your self-custody wallet app and select the asset you wish to deposit (e.g., USDC, Bitcoin). Generate a new address specifically for this bank transfer. Double-check the network type. If you are transferring USDC, ensure your bank supports the ERC-20, Solana, or Polygon network as required. Sending on the wrong network can result in permanent loss of funds. Write down or copy this address carefully; it acts as the bridge between the traditional banking system and the blockchain.
Step 4: Initiate a test transfer
Before moving significant capital, send a small test amount from your bank account to your wallet address. Use the smallest possible unit (e.g., $10 or $20). This step verifies that the bank’s internal systems can process the transaction and that the address is active and accessible. Check your wallet balance after the expected processing time. If the funds do not appear, contact your bank’s support team with the transaction ID. Do not proceed with larger transfers until this small test succeeds.
Step 5: Monitor and document the transaction
Once the test is successful, you can proceed with larger transfers. Documentation is key to maintaining a clean banking relationship. Save all transaction receipts, including bank confirmation numbers and blockchain transaction hashes (TXID). Banks may flag large or frequent crypto-related transfers for additional review. Having a clear paper trail helps you respond quickly if your account is questioned. Keep these records for at least seven years, as tax and regulatory authorities may request them to verify the source of your assets.
Step 6: Set up recurring transfers if needed
If you plan to use this link for regular savings or investments, ask your bank if they support recurring transfers to crypto addresses. Some banks allow scheduled payments to specific beneficiaries, which can automate your crypto accumulation strategy. However, be cautious with automation. If your bank’s policy changes or if your wallet address is flagged, recurring transfers will continue until you manually stop them. Set up alerts for all crypto-related transactions so you can intervene immediately if anything looks unusual.
Identify a traditional bank that explicitly supports crypto-related deposits or has a dedicated digital asset division. Verify that your chosen bank does not flag your wallet address as "high risk" before you initiate any transfers.
Pass Know Your Customer (KYC) and Anti-Money Laundering (AML) checks. Ensure your personal information matches exactly what is registered on your crypto wallet’s associated email or exchange accounts.
Open your self-custody wallet app and select the asset you wish to deposit. Generate a new address specifically for this bank transfer and double-check the network type.
Send a small test amount from your bank account to your wallet address. Check your wallet balance after the expected processing time to verify that the bank’s internal systems can process the transaction.
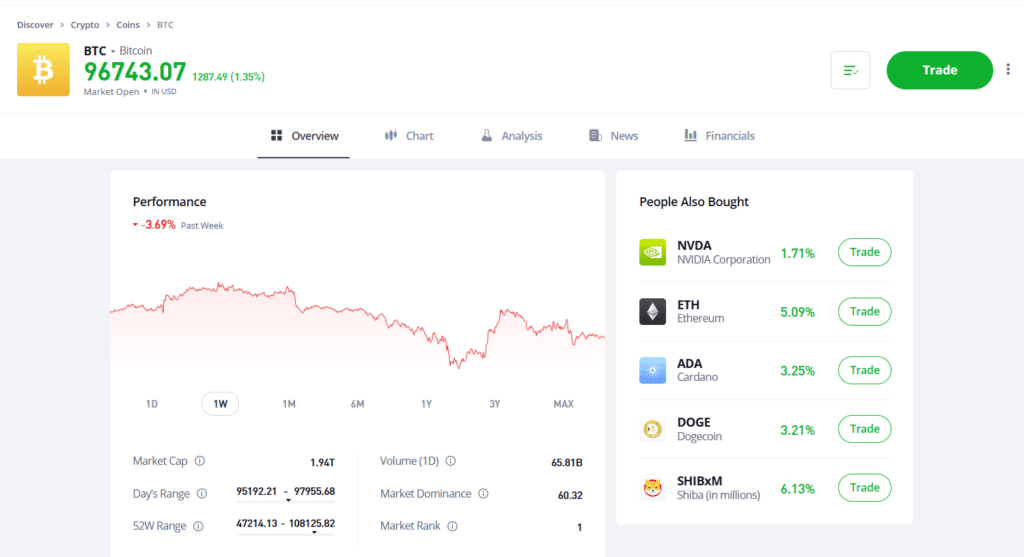
Save all transaction receipts, including bank confirmation numbers and blockchain transaction hashes (TXID). Keep these records for at least seven years.
Ask your bank if they support recurring transfers to crypto addresses. Set up alerts for all crypto-related transactions so you can intervene immediately if anything looks unusual.
Common mistakes when linking wallets to banks
Linking a crypto wallet to a traditional bank account sounds simple, but the friction points are real. Most failures happen because users ignore the compliance layers that sit between their private keys and their fiat ledger. Here are the three most frequent errors that cause frozen funds or rejected transfers, and how to fix them before you hit submit.
Mistake 1: Ignoring the Travel Rule thresholds
The Travel Rule requires financial institutions to share sender and receiver information for transactions above a certain threshold. In 2026, these rules have tightened globally, meaning banks are far more aggressive about flagging transactions that look like they bypass this data exchange. If you link a wallet that has a history of mixing services or high-risk exchanges, your bank’s automated compliance system will likely freeze the account pending a manual review.
The Fix: Before linking, audit your wallet’s transaction history. Ensure you are not using tumblers or mixers. If you must use a decentralized exchange, bridge your assets through a regulated custodian first. This creates a clear audit trail that satisfies the Travel Rule requirements, preventing your bank from flagging your account as high-risk.
Mistake 2: Using unverified or unregistered wallets
Not all wallets are created equal in the eyes of banking compliance. Banks rely on KYC (Know Your Customer) data to verify the source of funds. If you attempt to link a non-custodial wallet that has no associated identity verification, the bank has no way to confirm you own the assets. This mismatch often leads to immediate rejection of the link request or, worse, a forced liquidation of assets if the bank deems the account suspicious.
The Fix: Use wallets that are integrated with regulated entities or have clear identity verification steps. If you are using a hardware wallet, ensure it is linked to a verified exchange account where your identity is already established. This creates a "chain of custody" that banks can easily verify, smoothing the integration process.
Mistake 3: Assuming all stablecoins are treated equally
Banks are cautious about which stablecoins they accept. While USDC and USDT are widely recognized, many banks have strict policies against accepting stablecoins from less regulated issuers or those with questionable reserve backing. Linking a wallet that holds a mix of stablecoins can trigger compliance alerts, especially if the bank’s system cannot easily verify the issuer’s regulatory status.
The Fix: Stick to widely recognized, regulated stablecoins like USDC or USDT when linking to traditional banks. Avoid exotic or less-known stablecoins until you have confirmed the bank’s specific supported assets list. This reduces the risk of your transaction being flagged for compliance review, ensuring smoother transfers and fewer headaches.
Crypto bank 2026: what to check next
Before linking your wallet to a traditional bank, it helps to separate regulatory reality from market hype. The landscape in 2026 is defined by stablecoin integration and strict compliance checks, not speculative promises. Here are the practical answers to the most common objections.
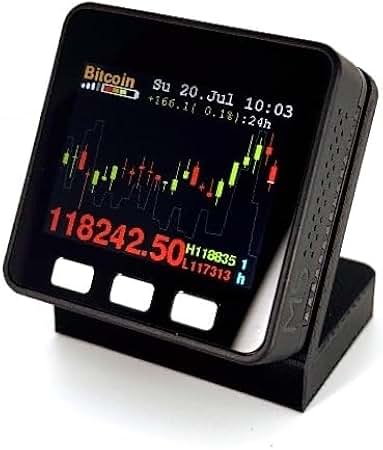

As an Amazon Associate, we may earn from qualifying purchases.
| Feature | Stablecoin Transfer | Bitcoin Deposit | Risk Level |
|---|---|---|---|
| Traditional Bank | Often Supported | Usually Blocked | Low |
| Crypto-Friendly Bank | Supported | Sometimes Supported | Medium |
| On-Chain Only | Supported | Supported | High |

No comments yet. Be the first to share your thoughts!